Saturday, April 11, 2020

Alpaca Free Crochet Pattern


I love it when a project gone awry  ends up being redeemed!  That was the case with this cute little alpaca amigurumi.

I had a request for a llama nursery lamp.  As usual, I created my own design.  But the first attempt kind of missed the mark as a suitable lamp base.   It was too tall to fit the lamp stand I use and the shape was not quite right.  So that llama went into the  scrap basket for re-evaluation later.


I completed the lamp and it turned out pretty cute.
I think the recipient was well pleased.

So what to do with the failed lamp project?   Well, it didn't take much to turn it into a cute little stuffed llama.  A few well placed stitches and a ribbon make it just what a child would love!


Having posted this pic on my Facebook page,   I received a request for a link to the pattern, which I did not have, since I didn't write it down while making it.  ( I assumed it would be a one time project).

So today  I recreated the project as closely as I could and made notes for the pattern.  The finished ami today is a little different, but really fairly close.  I used a different type of yarn for this one as I was out of Pipsqueak.  I think this one more closely resembles an alpaca.

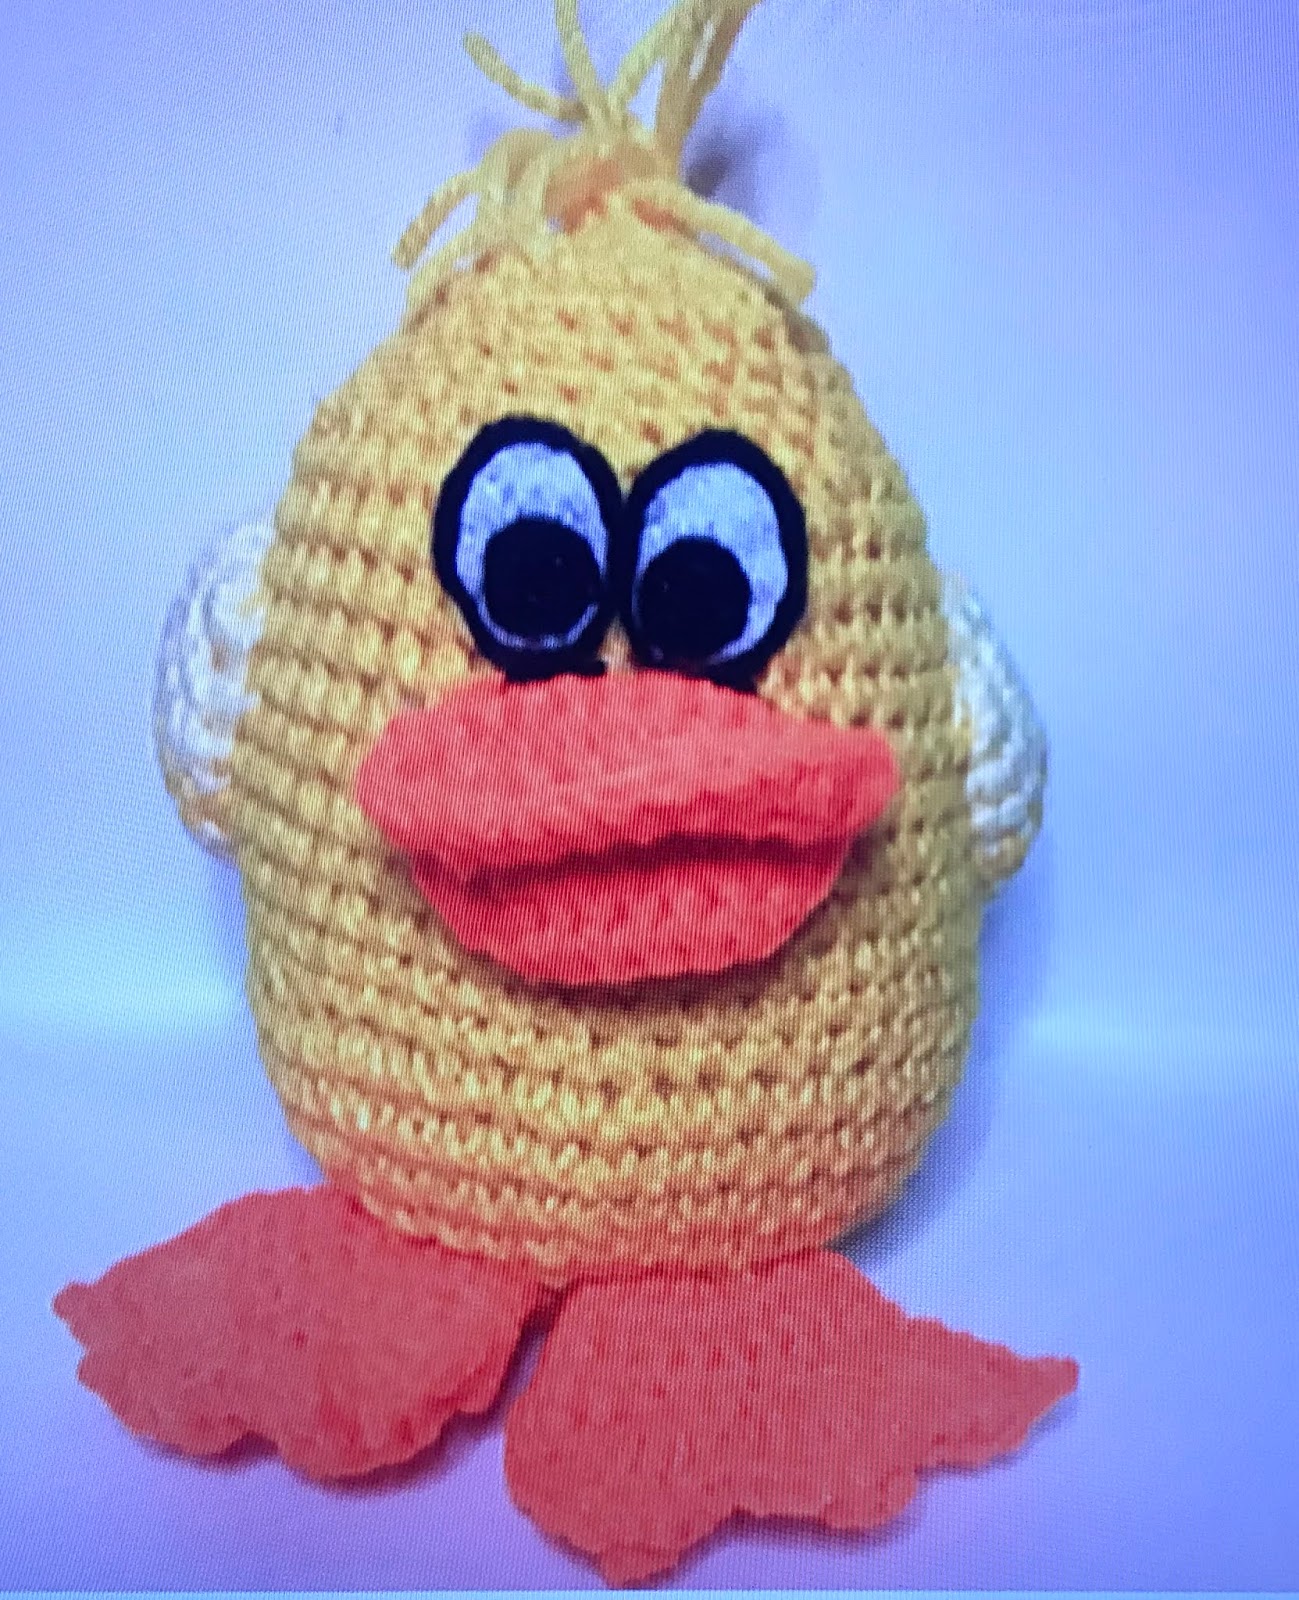
The ears are oversized intentionally, but can be easily made smaller.


Llama/Alpaca Crochet Pattern

 This guy is worked in the round.  The head is started at the nose and the body is worked bottom up.  I have placed the legs in a sitting position,but they could be placed on the bottom for a standing position.  The ears are oversized on purpose, but if you want smaller ears, just make fewer rounds.

Bernat Pipsqueak Yarn  (main color)
 Polyfil stuffing
G crochet hook (#4)
Worsted weight yarn in contrasting color (for face, etc)
Yarn needle
Safety Eyes   (15mm)
Small amt. black yarn for nose
Ribbon
Crochet Terms:
MC-  magic circle
SC- single crochet
SL ST- slip stitch
Inc- make 2 sc in one st.
Dec.- make one stitch over 2 stitches
F/O- fasten off
**  repeat instructions between asterisks to end of round or number of times indicated.

Head:
With contrasting yarn
 Make 6 sc in a mc
Inc x’s 6  (12)
3-4.  Sc in each st.
5.  *Sc in 1, inc*  (18)
6.  *Sc in 2, inc*  (24)
7.  *Sc in 3, inc*  (30)
8.  Sc in each stitch  (30)
At this point I place the safety eyes between rounds 4 and 5 with about 6 sts in between.  I also stitch on the nose.
9.  Attach pipsqueak or main color yarn.  Sc in each st.  (30)
10-11.   Sc in each st.  (30)
12. * Sc in 3, dec.*  (24)
13-14.  Sc in each stitch
15.  *Sc in 2, dec*  (18)  Stuff body now.
16.  *Sc in 1, dec*  (12)
17.  Dec x’s 6  (6)
F/O leaving a tail to weave through stitches.  Pull tail tight to close hole.  Weave in ends.

Body:
With pipsqueak or main color yarn.   (From bottom up)
 Make 6 sc in a mc. (6)
Inc in ea. st.  (12)
*Sc in 1, inc*  (18)
*Sc in 2, inc*  (24)
*Sc in 3, inc*  (30)
*Sc in 4, inc*  (36)
7-9.  Sc in ea. st.
10.  *Sc in 4, dec*  (30)
11.   Sc in ea. st.  (30)
12.  *Sc in 3, dec*  (24)
13-16.  Sc in ea. st.
17.  *Sc in 2, dec*  (18)
18.  Sc in ea. st.  (18)
19.  *Sc in 1,  dec*  (12)
20-23.  Sc in ea st.  (12)
Stuff firmly or place an armature inside the body and neck to add stability to the neck.  I used a foam curler folded in half.  (See pics)  Stuff around armature.  Stitch head and body together.

Ears:  Make 2
 Make a mc with 4 sc.
*Sc in 1, inc*  (6)
*Sc in 1, inc*  (9)
*Sc in 2, inc*  (12)
*Sc in 3, inc*  (15)
6-10.  Sc in ea st.  
F/O leaving tail to stitch ears to top of head.  I like to sew open end of ears closed by folding flat and stitching before attaching to head.

Arms:  make 2
 Make 6 sc in a mc.  (6)
Inc x’s 6  (12)
3-4.  Sc in ea st.  (12)
5.  Attach main color or pipsqueak and sc in ea st.  (12)
6-12.  Sc in ea st.  (12)    Stuff arms.   F/O leaving a long tail.  
Stitch open ends of arms together and sew arms to body.

Legs:  make 2
 Make 6 sc in a mc.  (6)
Inc x’s 6  (12)
Inc x’s 12  (24)
Sc in ea st  (24)
*Sc 1, dec*  (16)
Sc in ea st  (16)
*Sc in 1, dec*  (11)
Change to main color or pipsqueak.
8-14.  Sc in eas st.  (11)  Stuff legs.
F/O leaving tail to sew legs to body by stitching  around opening.

Your llama/alpaca is finished!  Good job!

Happy Hooking!
Reny

Saturday, April 4, 2020

Buzzy Bee Free Crochet Pattern


I have been seeing some cute bees on Pinterest for some time and have searched for a pattern similar to this one with no luck.  So, I decided to see if I could design my own.  It does resemble the pics I have been seeing. It's not an exact copy, but I do like the way it turned out and I am happy to offer the pattern to you now.

Materials:
Worsted weight yarn in 2 colors plus white for eyes and wings.
Size 3.25  or D crochet hook
Stuffing
Felt for eyes
Black embroidery floss for accents
Yarn and embroidery needles
4 chenille stems for antenna

Body

The body of the bee is made from the bottom up with the neck end left open.
With main color:
1.  Make 6 sc in a magic circle.
2.  Make 2 sc in each stitch.  (12)
3. *Sc 1, inc*  (18)
4.  *Sc 2, inc*  (24)
5.  *Sc 3, inc*  (30)
6.  *Sc 4, inc*  (36)
7-10  Sc in each stitch.  (36)
Change to  contrasting color.
11-13.  Sc in each stitch.  (36)
Change to main color.
14.  *Sc 4, dec*  (30)
15-17.   Sc in each st.
Change to contrasting color.
18.  *Sc 3, dec*  (24)
19-20.  Sc in each st.  (24)
Change to main color.
21.*Sc 2, dec*  (18)
22-24.  Sc in each st.  (18)
Change to contrasting color.
25-27.  Sc in each st.
Change to main color.
28-30.  Sc in each st.  Finish off leaving a long tail for sewing to head.

Head:  With main color.
1.  In a magic circle make 6 sc.
2.  Inc. 6 times.  (12)
3.  *Sc 1, inc*  (18)
4.  *Sc 2, inc*  (24)
5.  *Sc 3, inc*  (30)
6.  *Sc 4, inc*  (36)
7.  *Sc 5, inc*  (42)
8-16.  Sc in each st.  (42)
17.  *Sc 5, dec*  (36)
18.  *Sc 4, dec*  (30)                                                   
             19.  * Sc 3, dec*  (24)
20.  *Sc, 2, dec*  (18)
21  *Sc, 1, dec*  (12)
22.  Dec 6 times.  (6)
Finish off leaving a tail.   Thread a yarn needle with yarn tail and weave through loops of last round.  Pull tight and secure yarn.  Hide yarn end inside the head.  Using the yarn tail of the body, sew the head and body together.

Eyes:  Make 2  with white yarn.
1.  Make 6 sc in a magic circle.
2.  Inc. 6 times.  (12)
3.  *Sc1, inc*  (18)
4.  *Sc2, inc*  (24)
5.  Sc in each st.  (24)
Finish off leaving a long tail for sewing eyes to head.  Make pupils of felt and stitch to center of eye.  With a bit of white yarn or thread, stitch 'eye glares'.  Sew eyes to head.

Nose:  With contrasting color.
1. 6 sc in a magic circle.
2.  Inc in each st.  (12)
3.  *Sc1, inc*  (18)
4.  Sc in each st.
5.  *Sc1, dec*  (12)  Stuff nose.
6.  Dec. 6 times.  (6)
F/O leaving yarn tail to close and stitch to center of face under eyes.

Antenna:  Make 2.
With contrasting color:
1.  Make 6 sc in a magic circle.
2.  Inc 6 times.  (12)
3.  *Sc1, inc*  (18)
4-5.  Sc in each st. (18)
6.  *Sc1, dec.*  (12)
7.  *Sc1, dec* (8)
(Stuff end of antenna now)

Change to main color.
8-22.  Sc in each stitch.  Finish off leaving a long tail to sew to head.
Using 2 chenille stems for each antennae, fold them in half and tuck folded end into the ball end of the antenna.   Trim as needed and stick ends of chenille stems into head stuffing through stitches so ends are well into the stuffing.  Stitch antenna to top of head with chenille stems covered by antenna.  This should make the antenna bendable to any position.

Arms:  Make 2 with main color.
1.  Make 5 sc in a magic circle.
2.   Inc 5 times.  (10)
3.  *Sc 1, inc*  (15)
4-6.  Sc in each st. (15)
7.  *Sc 1, dec*  (10)  Stuff hand at this time.
8-23.  Sc in each st.  (10)  Finsih off leaving a tail to sew arm to body.  Stuff lightly and stitch to side of body.

Feet and legs:  Make 2 with main color.
1.  Chain 7.  Sc in 2nd ch. from hook and in next 4 ch.  sc3 in last ch.   Rotate work and  sc in 4 chs.  sc 2 in last ch. (14)
2.  Sc2 in 1st. st.,    sc 4.   inc. in next 3 sts.   sc 4,    inc in next 2 st.  (20)
3.  Inc, sc7,   inc in next 3 sts.,    sc7,   inc in next 2 sts.  (26)
4-5.  Sc in each st.  (26)
6.  Sc 11,  dec,  sc11,  dec.  (24)
7.  *Sc2, dec*  (18)
8.  *Sc 1, dec*  (12)  Stuff foot now.
9-30.  Sc in each st.  (12)  Finish off leaving tail to sew to body.

Wings:  Make 2 from white yarn.  Do not stuff wings.

1.  Make 6 sc in a magic circle
2.  Inc, in each st.  (12)
3.  *Sc 1, inc*  (18)
4.  *Sc 2, inc*  (24)
5.  *Sc 3, inc*  (30)
6-10.  Sc in each st.  (30)
11. *Sc3, dec*  (24)
12-16.  Sc in each st.  (24)
17.  *Sc 4, dec*  (20)
18.  *Sc 8, dec*  (18)
19-23.  Sc in each st.  (18)
24.  Dec, sc 16  (17)
25.  Sc 7, dec, sc 8  (16)
26-27.  Sc in each st.
28.  *Sc 3, dec*  (12)
29.  Sc in each st.  (12)
30.  Sc open edge together.  (6)
F/O leaving a long tail to sew to back of body just below head.

I hope you enjoy making this little bee as much as I have enjoyed designing it!
I would like to invite you to visit and like my Facebook pageYarn Varmints 

Blessings!
Reny


Friday, April 3, 2020

Have a Giggle! Free Crochet Pattern

This was my very first crochet pattern design and it was so well received that I have decided to offer it again to my readers!
    I absolutely adore bright colors and funny expressions. At our house we call it the 'cuteness factor'.  It is what I strive to achieve in all my varmint creations.  At times this means making several tries before it meets the requirements.  But the satisfaction of finally getting it right is so worth it!

   These little monsters are about 3 inches tall and are just the right size for little hands to carry around.  And I wish I could describe to you the delight we see in every child who has received one of these.  Big smiles, audible giggles as they toss them up in the air or hug them close to their little chests.    The wonder is that such a simple little monster could elicit all that.


    So I invite you to  enjoy this free crochet pattern.  I suggest you make several for adorable  gifts.  And keep some extra's around for little visitors.  I try to do this and it is such a great help to parents when their child has something special to play with during the visit.  And then I send it home with them!


    All you need to make this free crochet pattern are some bits of leftover yarn, stuffing and some felt for the eyes.  Be sure to stitch eyes, arms and legs securely if you plan to give one of these to a baby.


   Once you have completed one, it's hard not to make more.  And the more you make, the more delighted your littles will be!


                                 Giggle Monster Pattern

Materials:
Worsted weight yarn
G crochet hook
fiberfill for stuffing
felt for eyes (or may use safety eyes if you like)
needle and thread to sew on eyes
yarn needle for weaving in ends

   This pattern is worked in rounds and I used a running stitch marker to keep track.  An understanding of basic stitches and general crochet terms is helpful.

    If you are not familiar with how to make a magic ring, this is a great tutorial to explain it.

Rnd 1:  In a magic ring make 6 sc.
       2:  Make 2 sc in each st.  (12 sc)
       3: *Sc in next st., 2sc in next st.* Repeat to end of rnd.  (18 sc)
       4:*Sc in next 2 sts., 2 sc in next st.*  Repeat to end of rnd. (24 sc)
       5 *Sc in next 3 sts., 2 sc in next st.* Repeat to end of rnd.  (30 sc)
       6:*Sc in next 4 sts. 2 sc in next st.* Repeat to end of rnd.  (36 sc)
      Rounds 7 through 11, Sc in each stitch around.
Rnd 12: *Sc in next 4 sts, sc2tog*  Repeat to end of rnd.  (30 sc)
       13 and 14  Sc in each stitch around..
       15: *Sc in next 3 sts.,  sc2tog*   Repeat to end of rnd.  (24 sc)
       16 and 17  Sc in each stitch around.
       18: *Sc in next 2 sts., sc2tog*  Repeat to end of rnd. (18 sc)
        19: Sc in each stitch around.
        20: *Sc in next stitch, sc2tog*  Repeat to end of rnd. (12 sc)
        Stuff your ‘Giggle’ and then sc2tog around until opening is closed. 
        Fasten off and  weave in the yarn end.

   To make the arms and legs visit this website for a great pictorial tutorial. 

   Attach your finished curlicues to the sides and bottoms of your ‘Giggle’ for arms and legs.

   Now, let your creative juices flow as you envision and create unique facial expressions.  I used felt shapes for the eyes and stitched them securely onto the ‘Giggle’.  If you decide to use safety eyes, attach them before you stuff and finish off your ‘Giggle’.  I used yarn to embroider on the mouth.  You can make the face as simple or as detailed as you like.

   For the hair I attached strands of yarn as if attaching fringe.  This tutorial does a great job of showing how to do this.

     So there you  have it!  Happy little monsters that are sure to make you smile!
Blessings!
Reny

Wednesday, April 1, 2020

Sterling the Duck Free Crochet Pattern just in time for Easter!


I designed this pattern a few years ago as an Easter duck!  I love his goofy face and kissy lips!  I hope you  will enjoy making Sterling as much as I enjoyed designing him!

Materials:
Worsted weight yarn
 F crochet hook
Fiberfill stuffing
Black and white felt
yarn needle
Regular needle and thread

Sterling’s body and wings are crocheted in the round. I use a running stitch marker to keep track of rounds. Feet and bill are crocheted in rows. The eyes are felt cut in ovals or circles if you prefer, and layered, sewn together and then sewn into place with a regular needle and thread. Instructions between ** are to be repeated to end of round or row, or number of times indicated.

 Body 
Rnd. 1. Sc 6 in a magic ring.
2. Sc 2 in each sc. (12)
 3. *Sc in 1, 2 sc in next st. (inc. made)* (18)
4. *sc in 2, inc.* (24)
5. *Sc in 3, inc.* (30)
 6. *Sc in 4, inc.* (36)
 7. *Sc in 5, inc.* (42)
8. *Sc in 6, inc* (48)
9-10. Sc in each st.
11. *Sc in 6, sc2tog (dec. made)* (42)
12-20. Sc in each stitch.
21. *Sc in 5, dec.* (36)
 22. *Sc in 4, dec.* (30)
 23. *Sc in 3, dec.* (24)
24-25. Sc in each stitch. Stuff Sterling at this point, then finish remaining rounds.
26. *Sc in 2, dec.* (18)
27. *Sc in 1, dec.* (12)
28-. Dec until close. Fasten off and weave in yarn ends.

Wings (Make2)
1. Make 6 sc in a magic ring.
2. Make 2 sc in each st. (12)
3. *Sc in 1, inc.* (18)
 4-8. Sc in each st.
 9. *Sc in 1, dec.* (12)
 10. Dec. until closed. Do not stuff wing, but flatten and sew to sides of body. Wings should have a slight curve to them to give dimension. Add stripes by alternating yarn colors on the wings if you want more definition. I used 2 colors of yellow to give just a little definition.

 Top Bill (Make 2)
1. Chain 13, sc in 2nd ch from hook and each additional chain. (12) Ch1 and turn.
 2. Dec, sc in 8 sc, dec. (10) Ch 1 and turn.
3. Dec, sc in 6, dec. (8) Fasten off.
Place the 2 bill parts together and sc them together by sc around the entire bill. The layers give the bill dimension. With black yarn and yarn needle, stitch 2 nostrils on the top of the bill.

Bottom Bill (Make 2)
1. Chain 11, sc in 2nd ch from hook and each additional ch. (10) Ch 1 and turn.
 2. Dec, scin 6, dec. (8) Ch 1 and turn.
3. Dec, sc in 4, dec. (6)
Sc both parts of lower bill together as you did with the upper bill. Sew bill together at the starting chain ends and sew the completed bill to the duck face. Now, aren’t those just the cutest little smoochy duck lips?

 Feet (Make 4)
1. Ch 2, make 3 sc in 2nd ch. Ch 1 and turn. Sc in each st. (3) Ch 1 and turn
2-3. Sc in each stitch. Ch 1 and turn (3)
 4. Sc in 1, inc, sc in last st. (4) Ch 1 and turn.
5. Sc in 1, inc, inc, sc in last st. (6) Ch 1 and turn.
6. Sc in 2, inc inc, sc in last st. (8) Ch 1 and turn.
7-8. Sc in each st. Ch 1 and turn. (8)
9. Sc in 4, inc, sc in 3. (9) Ch 1 and turn.
10 Sc in 2, (hdc, dc, dc, dc, hdc) all in next st. (Cluster made.) sc in next st, repeat cluster, sc, repeat cluster, sc in last sc. (Toes defined.) Fasten off.
Sc 2 feet sections together around entire foot as you did with the duck bill. At the point of each toe make a chain 1 and slip stitch into thee same stitch. This defines the toes even more. Sew the feet to the bottom of the duck body.

Tail (Make1)
1. Ch 11, sc in 2nd ch from hook and each additional ch. (10) Ch1 and turn.
 2. Sc in each, ch 1 and turn. (10)
 3. Sc in 8, ch1 and turn. (8)
 4. Sc in each st, ch 1 and turn. (8)
 5. Sc in 6, ch 1 and turn. (6)
 6. Sc in each st. (6)
7. Slip stitch across top to beginning row. Sc down chain side of this row. Ch 1 and turn. (10)
8. Sc in each st. Ch 1 and turn. (10)
9. Sc in 8, ch 1 and turn. (8)
10. Sc in each st, ch 1 and turn. (8)
11. Sc in 6, sh 1 and turn. (6)
12. Sc in each st. Sc across top of tail, fasten off.
Sew tail to back of duck. Add some yarn strands to the top of Sterling’s head for hair if you want. Sew on the eyes and you’re done!

 Now, add Sterling to your kid’s Easter basket and let him help them find the eggs! What fun!!!

Blessings!
Reny