Do you have pesky wasps flying around your favorite outdoor places? If so, this sweet little pattern might be helpful in keeping them away without killing them or risking a sting.
I have been reading that a fake hornet's nest will repel wasps from the area. Having tried it on our back patio, we think it is working. Haven't seen a wasp since we put ours up, and we usually see at least 2 or 3 each time we go out.
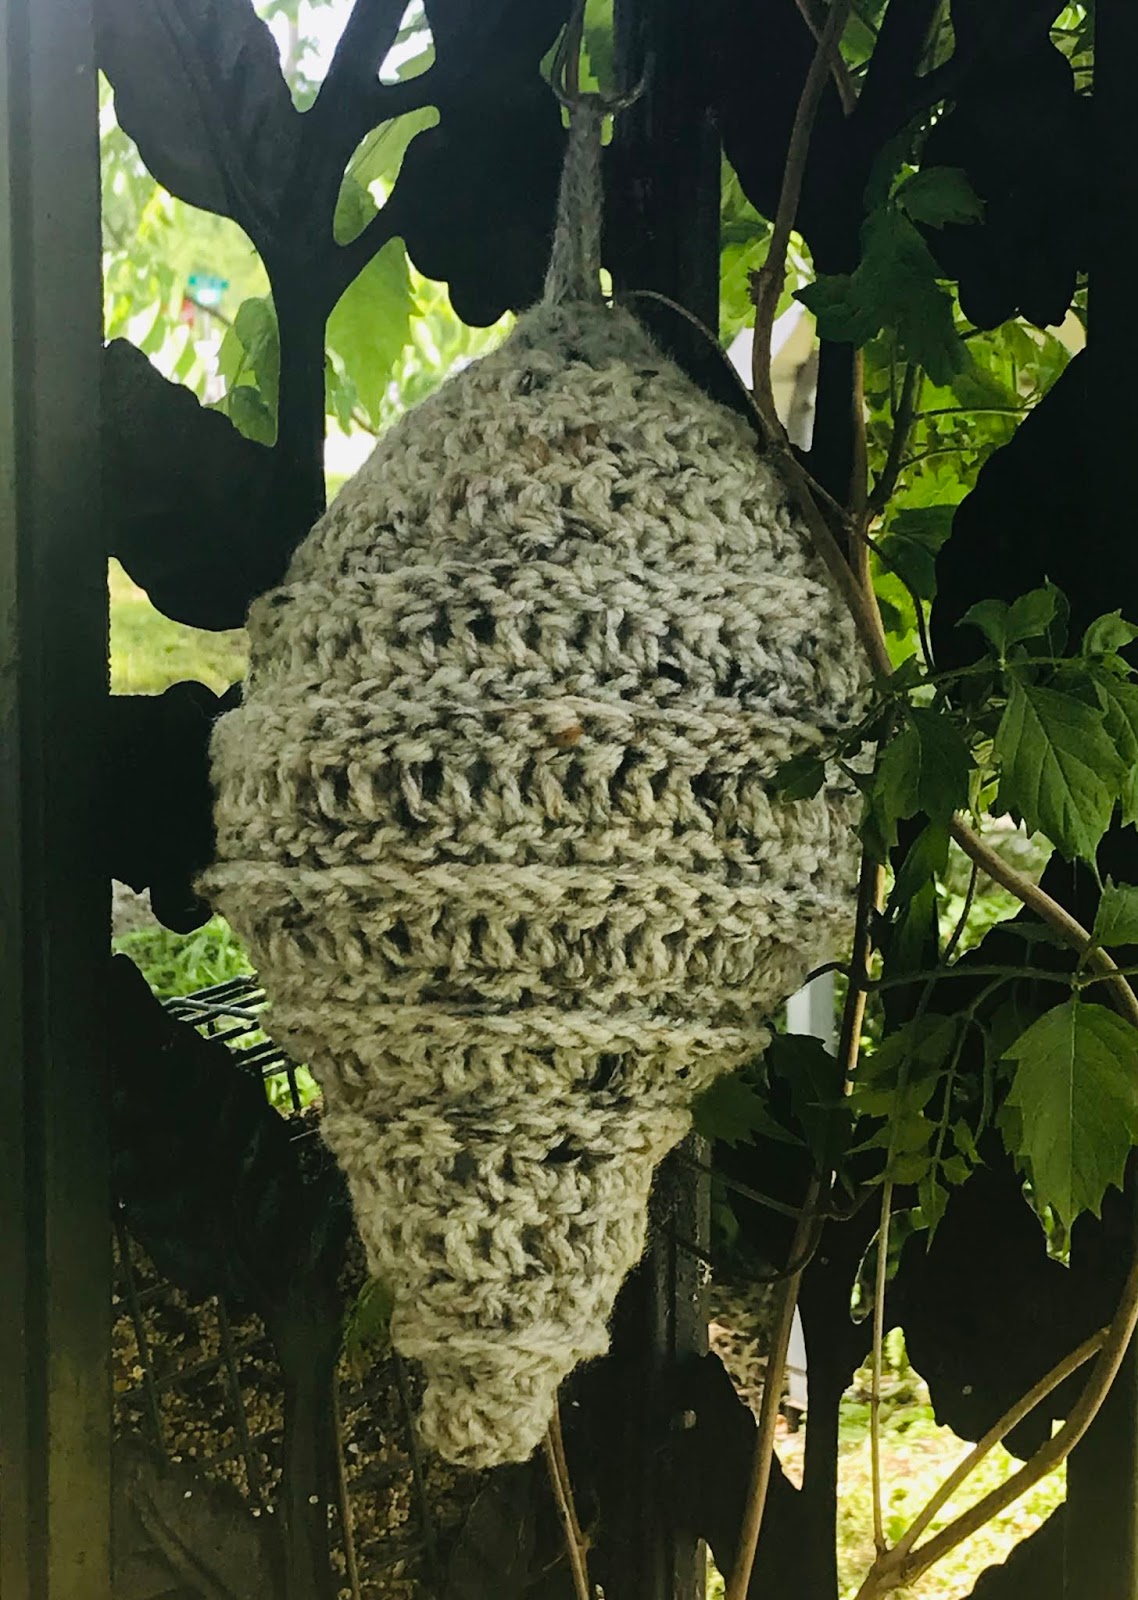
So if you would like to give it a try, here is the pattern I came up with for one. It is about 15 inches long from top to bottom with about a 3 inch loop for hanging.
This is worked in a spiral and I use a running stitch marker to keep track of rounds. Instructions between ** are to be repeated to end of round or number of times specified.
Materials:
Chunky Yarn. (I used a couple of skeins of old rug yarn I had laying around.)
#7.0 hook
Polyfil stuffing (You can stuff this with anything you like. )
Abbreviations:
MC- magic circle or ring.
ST- stitch
SC- single crochet
DC- double crochet
FPDC- front post double crochet
INC- increase
DEC- decrease
CH- chain
1. Make 6 sc in a magic ring.

2. DC in each st. (6)
3. DC INC in each st. (12)
4. * DC, DC INC* (18)
5. FPDC in each st. (18)
6. *DC 2, INC* (24)
7. *FPDC in each st. (24)
8. *DC 2, INC* (32)
9. FPDC in each st. (32)
10. *DC, INC* (48)
11. FPDC in each st. (48)
12. DC in each st. (48)
13. FPDC in each st. (48)
14. *DC in 6, DEC* (42)
At this point, turn the nest inside out. You can now see the ridges that the FPDC's have made! You will continue working in rounds, but now from the inside out.
15. *FPDC 5, DEC* (36)
16. DC 4, DEC. (30)
17. DC 3, DEC. (24)
18. DC 2, DEC (18) Stuff nest at this point.
19. DC 1, DEC (12)
20. SCDEC X's 6. (6)
Do not cut yarn but chain 15 and attach the end back into the last round to form a loop for hanging your nest.

If you don't have a bulky or chunky yarn, you could use several strands of whatever yarn you have on hand to make up the bulk needed to make this nest.
And there you have it! Your own faux hornet's nest.
I hope you enjoy making this as much as I enjoyed designing it for you!
Be blessed!
Reny
how do you keep it from rotting in the weather all the time?
ReplyDeleteI haven't had an issue with that yet. I expect it will eventually have to be replaced, as with many things exposed to the weather.
DeleteThank you so much for sharing. I’m going to make this
DeleteIs color important?
ReplyDeleteI generally try to stick with earth tones. I'm not sure if a bright color would repel or not.
DeleteCurious to know if this works only for wasps and hornets, or if it helps repel ALL bees... Any idea?
ReplyDeleteAre you sure it’s front post double crochet? Because looking at your pictures I think you mean back post
ReplyDeleteI have made two so far. I chose to use two strands of yarn at once as I had no bulky weight yarn. I also chose to backpost double crochet throughout the pattern which allowed the ridges to show without having to turn the work inside out. Such a cute pattern! So well written and easy to follow your instructions! Even if they don’t work, they sure are cute. 😊
ReplyDeleteAlso…meant to add that I chose to stuff mine with used Wal-Mart bags…🙂
ReplyDelete